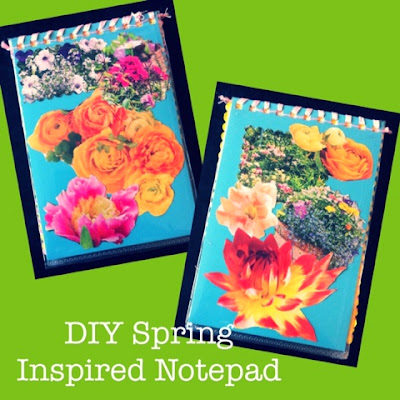
I happened to stumble upon the blog A Beautiful Mess a couple of weeks ago, and instantly fell in love with it! ABM just has so much quality content with awesome DIY tutorials, food recipes, etc. you could literally spend hours perusing their site! (Believe me I've done it!) I found a ton of DIY tutorials that I wanted to try myself, and today I finally decided would be the day to do so. I really liked their Mini Magazine Notebook DIY project so I decided to try my hand at it, except I didn't have all of the supplies the project called for so I improvised and ended up creating my own DIY version of a mini notepad. Because Spring is here I also wanted to make a Spring inspired notepad. We here on BSOM haven't done too many DIY tutorials as far as crafts go (although I did post a DIY fish decor piece that I made put of twine + driftwood last summer) but it is definitely something I would like to work on for future posts as I just think they are so much fun! :)
I should mention I was also inspired to create a mini notepad from the Art Abandonment Group, as one of the group members had made some little notepads and they were so cute! Not only were they cute, but functional as well which is another reason I loved the idea. Up until now I have only abandoned pieces of art that were just for visual enjoyment, but the idea of functional art just really struck me as it can be useful to anyone.
So back to the mission at hand...a DIY mini notepad! Like I mentioned I didn't have all of the supplies needed to follow ABM's tutorial for their Mini Magazine Notebook so I improvised. I could have improvised in a different way than what I did so my results would be more like ABM's notepad, but I wanted to kind of do my own thing, and create my own tutorial inspired by theirs. I also decided to go the route I did with my improvising because I wanted to upcycle items I already had, and would've ended up throwing away/collecting dust had I not used it for a project, thus bringing this item back to life as a zombie (which explains the title of this post, I mentioned yesterday that all of my upcycled projects will now be referred to as my Zombie projects.) The item I'm talking about is old planner of mine from a couple of years ago. I know you've got a couple of old planners stashed away somewhere, go grab 'em and let's do a project! :) While you're at it here are the other supplies you will need (but of course please feel free to improvise!)
Supplies Needed:
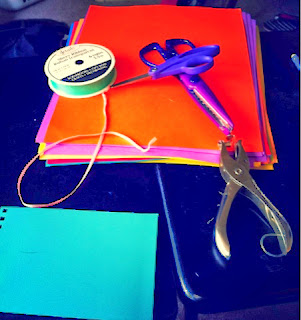
* Old Planner/Any Old Notebook
(Pretty much anything that has a plastic backing to it that you can remove
to use for the covers for your new notepad)
* Blank paper of any kind
(Computer, construction, lined, etc.)
* Pretty pictures/items of any kind
(Magazine photos, actual photos, whatever your heart desires!)
I decided to tack on 'items' on there because I was thinking some pretty pressed flowers would be nice too, the options are limitless! :)
* Double Sided Tape + regular tape
(Whatever strikes your fancy but keep in mind...)
Because what I was using for the covers was made of plastic I used double sided tape to adhere my pictures. I decided to use double sided tape instead of regular tape so I wouldn't have to roll the tape in order for the pictures to stick which would lead to bumps under my pictures (no bueno).
I'll explain what the regular tape is for in a moment.
* Scissors
I happened to have 'fancy' scissors on hand so I used those as well as regular scissors, but the later is just fine too.
* Clear Sheet Protectors
I happened to have these on hand as well, although I did contemplate just using clear duct tape to cover the notepad covers.
* Ribbon of some sort
* Threaded needle
AMB's tutorial suggested embroidery thread, which is definitely ideal for this project. But I didn't have any on hand so I just used regular thread and backed it with the ribbon for support.
* X-Acto Knife
(Definitely comes in handy to get those straighter lines!)
* Hole Punch
(Could come in handy!)
How To:
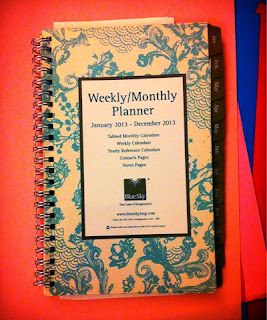
- Grab your old planner + unhinge the plastic cover(s)
(depending on how many notepads you want to make, 1 cover = 1 notepad)
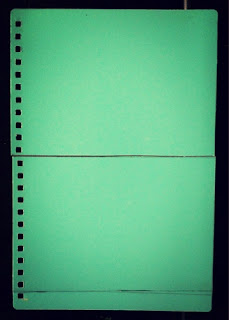
- Measure out + cut the plastic cover into 2 equal parts.
These are going to be your notepad covers so cut them as big/small as you want,
you just want them equal.
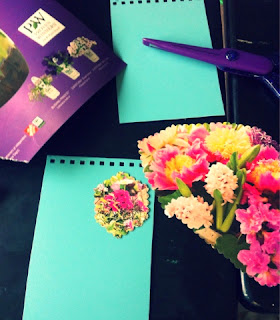
- Decorate your covers with the pictures you've chosen using your double sided tape.
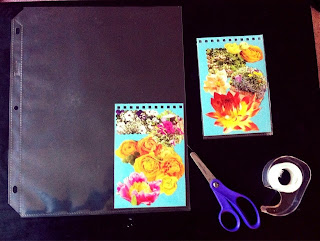
- Next grab a plastic sheet protector + put one of your covers in it, cut to size. I used my regular scissors to cut out the area I needed + left a little extra space along the border. I then used my X-acto knife to clean up the edges of the plastic sheet protector because they were frazzled at the end.
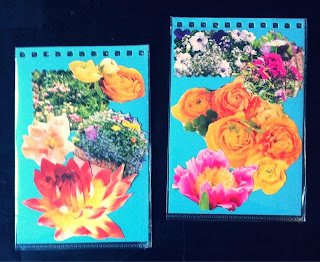
- Tape up the open sides of the sheet protector using your regular tape, cut the excess using an X-acto knife if you've got one, it'll make the job a lot easier!
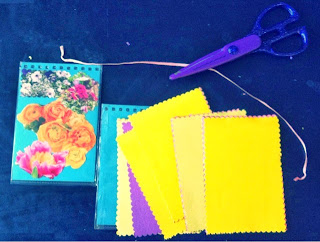
- Now get your paper ready! Cut your paper to size, this is where I used my fancy scissors. The wavy edges adds a little extra somethin' somethin' plus I feel like I don't have to worry about my lines being exactly straight, which is always a good thing in my book! For the life of me I can't seem to cut a straight line very well! LOL
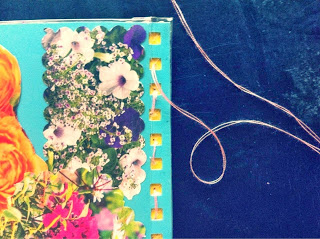
- And now the fun part...BINDING! Yes I'm being sarcastic, I'm not goin' lie this was my least favorite part of this project, but because I've gone through this once I now have a little thing called, hindsight which will save you some troubles on this part. The planner cover that I used had smaller holes (as I think many planner covers are) already punched in it, where I unhinged it. Because the holes were on the smaller side you can bet it was a pain to bind the covers together! Next time aka this time for you, I'm going to punch larger holes in the covers where the smaller holes already are to make the binding job a lot easier!! Once you've got your larger holes punched, you're going to take your threaded needle + sew together the covers weaving in + out of the holes you just punched.
Once you've sewn together your covers, take your ribbon and go through the holes with it to cover up the thread a bit. Cut off the excess and...
YOU'RE DONE!! :)
Ta-Da!! You should now have a pretty damn sweet homemade upcycled notepad right in front of ya! :)
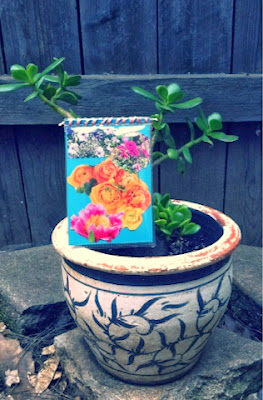
I'm quite happy with my little Spring inspired notepad, and although I love it and want to keep it for myself I intended on abandoning it before I even began assembling it, so I've gotta stick with my guns and abandon away!
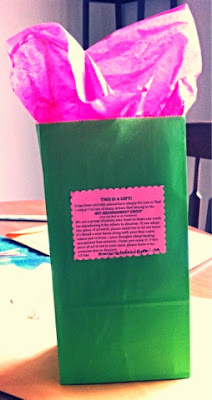
Finder's Keepers!
Hope you all enjoyed this crafty (ha) little project!
Let me know how yours turns out!
Let me know how yours turns out!
Comment below or shoot me over an email to: Bicoastalstateofmind@gmail.com!
Until next time friends...Cheers!!
<3 Noonie
