 |
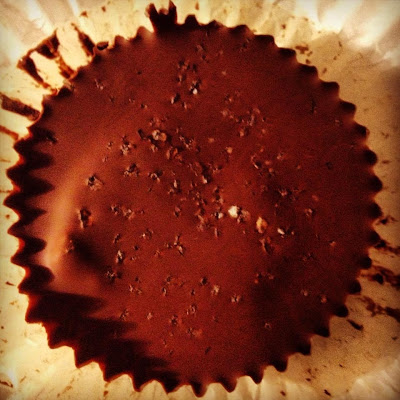
| First Batch! |
I was in the market to make a healthy(er) chocolate treat for myself.
I flipped through blog after blog until I found something that I found something that tickled my fancy. This particular day, it was at Sprouted Kitchen. I stumbled upon the recipe for Almond Butter Cups, and the rest was history!
True to form, I altered the recipe to my liking, and now I have made these guys 4 different times, varying the recipe with each.
Below is my favorite of those I've come up with.
I suppose I should preface with: Honey Roasted Peanut Butter from Whole Foods is one of my favorite things to eat in this world! I can fresh grind it with each purchase, it is (nearly) all natural, and pretty healthy. The reason I use dark chocolate is because it offers more health benefits than milk or white chocolate.
Dark Chocolate (Honey Roasted) Peanut Butter Cups
Chocolate to Melt (I use Ghiradelli's dark chocolate chips)
Peanut Butter (I use WF Honey Roasted PB)
Sea Salt
Coconut Milk (optional-or any milk)
Honey (optional-or any sweetener)
Things you'll need:
Muffin Tin / Muffin Cup
Muffin Pan
Patience
Directions:
I do not list amounts here because I did not use them, I would feel it out and add more or less depending how it went.
1. Melt the chocolate.
I did this on the stovetop in a small sauce pan (right now you should only make enough for 1/2 of the PB-cups), This is where I would add the coconut milk & honey if you're interested in thinning the chocolate or making it sweeter.
Be advised: if you do add either or both of these items do so in extremely small doses as too much milk won't allow the chocolate to set properly. I would say add no more than 1 tbsp of milk and a spoonful of honey.
2. One-at-a-time spoon a scoop of the melted chocolate into your muffin-cup. While still hot pick up the cup and swirl the warm chocolate around to coat the edges. Make sure you get the chocolate about 1/2 way up the side of the cup as this will provide the walls of your PB-cup.
Do this with all of the cups.
*You can make as many or as few as you like, which is why there are no set amounts*
3. Place Muffin Pan into freezer (for those of us who are impatient) or leave out and wait for chocolate to set/harden back to its natural state. In the freezer this should take around 10 minutes.
Once chocolate is hardened continue to next step.
4. Scoop spoonfuls of PB into each cup, slightly flatten the tops.
*You can put any filling you like in here: PB, banana, almond butter, etc.*
5. Melt more chocolate and spoon over the top.
6. Top with sea salt (I also placed a little sea salt on the bottom of the muffin-tin before I began)
7. Place in freezer once more to allow chocolate to set, which should take about 10-15 minutes.
8. Enjoy!
One of my favorite tricks is using the muffin tins because if you peal them off it has the same textured appearance as a Reese's PB Cup.
Another trick I do is keep a few in the freezer and eat them while frozen (I discovered this on accident bc I made a Frankenstein batch, turned out to be the most enjoyable) its almost like having an ice cream sandwich!
 |
| Frankenstein Frozen Batch |
